Looking to create an eye-catching text-reveal effect in Framer? Learn how to implement this engaging animation using GSAP to build a custom component. Elevate your website’s design with smooth, professional text animations that captivate your audience.

Looking to combine scroll interactions with a sleek text-reveal effect, just like you see in professional thumbnails? Using the GSAP library is a great way to achieve this.
Today, we’re walking you through the step-by-step process of implementing this effect using Framer’s Code Component. Follow along, and let’s bring your design to life!
Step 1: Create a New Code File
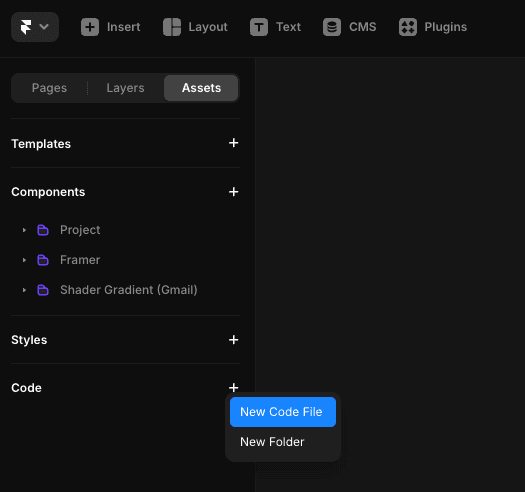
In your Framer workspace, navigate to the left panel and click on Assets > Code > New Code File.
Step 2: Name Your Code Component
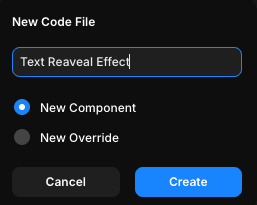
When the pop-up window appears (as shown in the image), give your Code Component a name and click the Create button to generate it.
Step 3: Write and Save Your Code
In the code editor, input your code and save it. Once saved, your Code Component is ready to use.
Here’s a snippet of the code for reference:
You’ll notice that we’ve imported both GSAP and Split-Type libraries. These are essential for creating the text-reveal effect
Step 4: Key Animation Logic
Here’s where the magic happens!
Using Split-Type, we break the text into manageable parts. Then, with GSAP animations, we set up the following logic:
When
yis at 100%,opacityis set to 0 (text hidden).When
ytransitions to 0%,opacitybecomes 1 (text visible).
This transition creates the smooth text-reveal effect.
Step 5: Apply Your Code Component
Return to your Framer workspace and apply the newly created Code Component to your text area. And that’s it—you’ve successfully implemented a scroll-based text-reveal effect!
Final Thoughts
As you can see, features that aren’t natively supported in Framer can often be achieved using custom Code Components. This opens up endless possibilities for bringing unique interactions to your designs.
Bonus Tip for You!
Even if you’re not familiar with coding, tools like Framer GPT (available in GPT Pro) can help you write code effortlessly. Simply describe what you need, and let AI do the heavy lifting!
For more detailed tutorials, check out Framer University’s YouTube channel—it’s packed with valuable resources for creators like you.
Happy designing! 😊